Air Pistol
ISSF
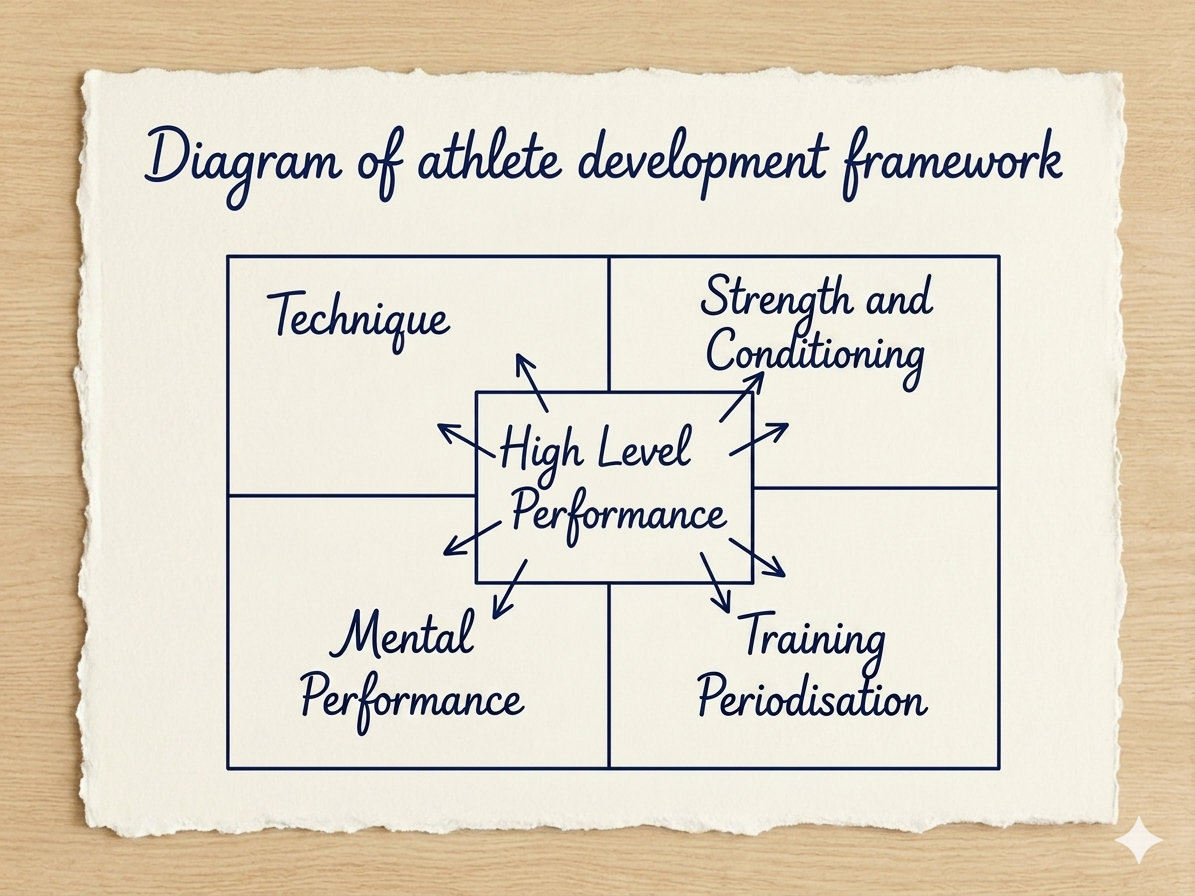
Mental Performance

While acknowledging the significant contributions of other body parts, the right arm plays a particularly critical role in shooting. It must accomplish multiple tasks simultaneously: minimizing the pistol's arc of movement, supporting the weapon's weight, maintaining proper sight alignment, and managing recoil. Successfully executing these tasks requires coordination and support from the rest of the body. To meet these demands optimally, the right arm should be fully extended. Full extension is essential for three key reasons:


For optimal performance of the right arm, it should be positioned along the line connecting both shoulders, or slightly to the left of this line. This alignment creates ideal conditions for the deltoid muscle's three sections to work efficiently in a static position. As a result, the right shoulder will naturally settle into a low or medium-high placement. While a high shoulder position is frequently observed, this variation will be examined in the case study section.

The right arm's positioning remains one of the most debated subjects among shooting professionals, giving rise to numerous different shooting techniques. Generally, shooters can be categorized into three main groups based on their right arm position.
An effective grip comprises two fundamental components:
Securing the pistol with minimal movement within the target area, maintaining consistency while using the least amount of energy possible.
Creating ideal conditions for the index finger to squeeze the trigger without disrupting the established minimal movement pattern.
Fulfilling these criteria requires proper hand placement on a well-designed pistol grip. How the right hand is positioned plays a crucial role in controlling the weapon effectively. Three critical contact points between the hand and grip must be taken into account:
• The web space between the thumb and index (trigger) finger—positioned behind the barrel and beneath the rear sight.

• The lower palm area near the wrist joint (ulnar side)—contacting the upper (supporting) section of the grip.

The upper portion of the middle finger's middle joint—where the section of the grip beneath the trigger mechanism rests.

Ideally, the pistol would be held at its structural center of gravity (left photo—red dot), but this is physically impossible. Instead, we aim to get as close as practical to this point by providing support at the second point (blue dot), which serves as the center of the triangular hold. This gripping method utilizes leverage principles, enabling the shooter to hold the weapon with minimal muscular effort, conserving energy while reducing the pistol's movement.

Since training sessions and competitions involve numerous shots, energy conservation through proper gripping technique is essential to master. Additionally, correct grip placement and a well-fitted grip are vital for injury prevention, which is common among pistol shooters. "Tennis elbow" is among the most frequent injuries encountered. Improper gripping technique, a poorly fitted grip, or both can cause problems within 20 minutes that may require months or even years to resolve. Consequently, grip adjustment and gripping technique deserve serious and dedicated attention.
To preserve the minimal movement achieved during trigger pull, the pistol barrel must remain balanced with the forces exerted on both the grip and trigger. This balance is only possible when lateral and vertical forces applied to the grip stay parallel to the barrel and perpendicular (90°) to the barrel's axis.

The little, ring, and middle fingers wrap around the grip with smooth, consistent tension that remains constant. Pressure is applied using the middle segments of these three fingers.
Any deviation in force direction will cause lateral shifts in the barrel's axis.

A frequently debated question concerns the amount of grip pressure to apply. For Air Pistol, where trigger weight has a 500-gram minimum, logic suggests that if the shooter must overcome trigger resistance, the three fingers wrapped around the grip should apply similar pressure—approximately 500 grams (or more, depending on trigger weight settings). This reasoning is supported by the fact that the brain need not send different signals to four fingers, excluding the thumb.

The fingertips of the thumb, little, middle, and ring fingers may touch the grip but should not apply significant pressure. These fingertips maintain an inclination angle between 12-15° (from relaxed to shooting position) for Air Pistol, and 18-22° for Sport Pistol.
The hand's most crucial finger—the trigger finger—must remain completely free from grip contact. Only this ensures optimal conditions for proper trigger finger action and correct trigger pull. If the trigger finger contacts the grip, each triggering attempt will move the pistol away from the ideal aiming point, reducing accuracy. Shooters commonly mistakenly "feel" that grip contact provides better control over the pistol's movement. While this may seem true, unwanted effects occur when the index finger executes the trigger pull. Barrel axis displacement inevitably results from such contact, causing shots to miss the intended point.

The final segment of the index finger must be positioned with its most sensitive area—the center of the fingertip—on the trigger shoe, forming a 90° angle with the barrel axis. This placement prevents lateral barrel movement, ensuring the trigger pull moves straight backward toward the V-shaped space between the thumb and index finger.

Proper pistol shooting position requires the left hand and shoulder to play an entirely passive role. This passive role stems from the need to establish as many constants as possible within the shooting position and firing process. By placing the left hand in a pocket or hooking it onto the trouser belt, the left arm maintains the same position throughout each shot. This creates a more unified arm-shoulder-body structure and enhances body balance. Moving the left arm to an optimal position helps project the center of gravity into the desired area. This placement approximates what can be called an "immobilizing position" or "anatomic passive position."
However, simply making the left arm passive is insufficient. The left arm and hand must be positioned identically every single time. To appreciate this importance, we must understand posturology principles. I've included an excerpt that's relevant for understanding and analyzing the left arm/hand position situation.

The photo above, shows the hand placed in pocket. Though the practice has showed it is better to have the arm resting on the belt, as in that way we can have it placed on the same spot every time more easily.
Mastering the foundation of your shooting stance is a continuous process of refinement. While these principles provide the essential framework, personalized feedback is the fastest way to achieve elite-level consistency and eliminate hidden technical errors.
Are you ready to optimize your performance?
Explore Our Training Plans: Gain access to structured, step-by-step programs designed to sharpen your mechanics and mental game.
Private Coaching Options: Work one-on-one with our expert instructors for a comprehensive anatomical assessment and tailored adjustments to your shooting position.
[Click Here to View Training Plans & Coaching Packages]